At some point in your career, or even during your daily routines, you may have to resize an image. This may sound like such a daunting task, but if you already know how to go about it, it becomes much easier. If you have no idea about how to resize an image, including using the bulk image resizer, you don't have to worry as there are file compression tools that make the task easier. So, what does resizing an image entail? Here is a simplified guide on all you need to know about resizing an image.
While viewing large photos or images on your screen makes you capture every detail, it may not always be the best idea. There are various reasons why resizing an image is important, as outlined below.
Sometimes, the amount of space available on your device may not allow you to download or even upload such a large file. As such, you may want to consider using a simple image resizer to reduce the size of your image, without affecting the quality. Resizing an image reduces the time taken to upload or download an image.
If you intend to make a presentation that contains images, inserting large images can make your presentation bigger and slower, as it takes a little more time to display that image on your screen. To make your presentation take less of the audience's time, the batch image resizer, or even the bulk image resizer tools can help you reduce the size of multiple images. This reduces the time taken to load your images during your presentation.
Resizing lets you store more images on your computer system, since it reduces the space occupied by saved images. Similarly, uploading an image for display on the internet requires that you capture every detail, without occupying too much space. If you try uploading a larger image, it may take too much of your time and space, while also taking too much time for the intended viewers to download, especially if they have slow connections. To save time and space, resizing an image is necessary.
When attaching an image to an email, you need to ensure that the file is of a reasonable size. Most email platforms have a preset standard size of the email you can send at any one given time. So, if your email contains multiple images, you can use the batch image resizer, to reduce the size of your images, and attach them all at once. Resizing your images will thus reduce the size of your email, making it possible for you to share images. Using the WinZip image resize feature allows you to resize image without affecting its quality.
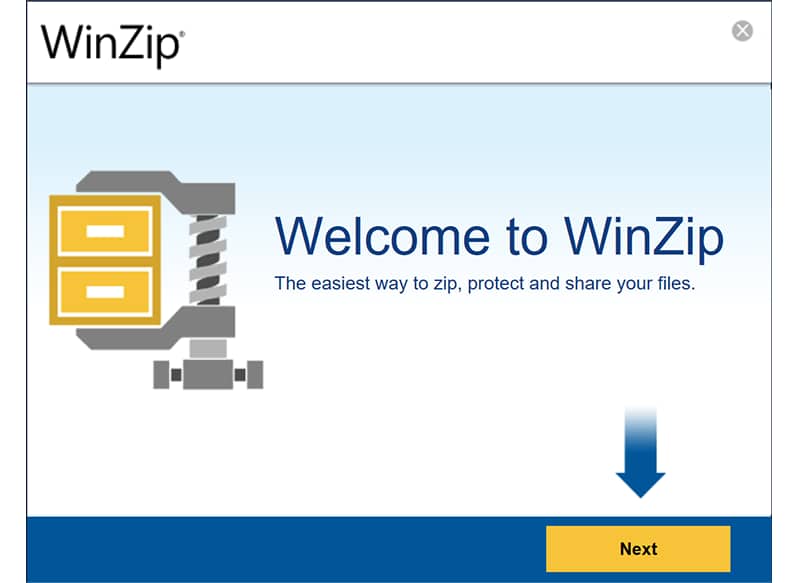
There are several ways to resize an image. Depending on the operating system installed on your computer, you may want to consider using WinZip to resize your image by following these easy steps.
While using the image resizer for windows saves on your disk space, it is also a great way to allow you to send more files via email. The WinZip image compression feature has what it takes to help you resize your images, while still maintaining their original quality.