The amount of information most modern recording devices can capture in a single video is astounding.
Moreover, the video quality is so impressive that with today's flagship phones, most people can't tell the difference between a video captured by a phone and a professional camera.
However, all those detailed images and high-definition clips come at a price—storage. You'll find that such videos take up too much space.
When you need to transmit a 4K video, the upload and download time is a nightmare for all involved.
Fortunately, there's a solution to this problem—file compression. Here's what you need to know.
Compressing videos can save you a ton of time and storage space. When you compress a video, you take enormous amounts of data from quality videos and present it in a more adapted way, turning your storage-heavy files to a portion of their size.
You wouldn't need to pay extra for cloud storage services or higher-capacity physical drives. It also makes transmitting large videos incredibly convenient. After all, many email services limit the size of the files you can attach.
While others usually cut longer videos into several parts to send them, you could compress it and send the entire thing in one go. And with the file size smaller, the upload and download time is also cut significantly.
And when your recipient downloads the video, they can decompress it without losing quality. Something that you cannot achieve with messaging and social media apps.
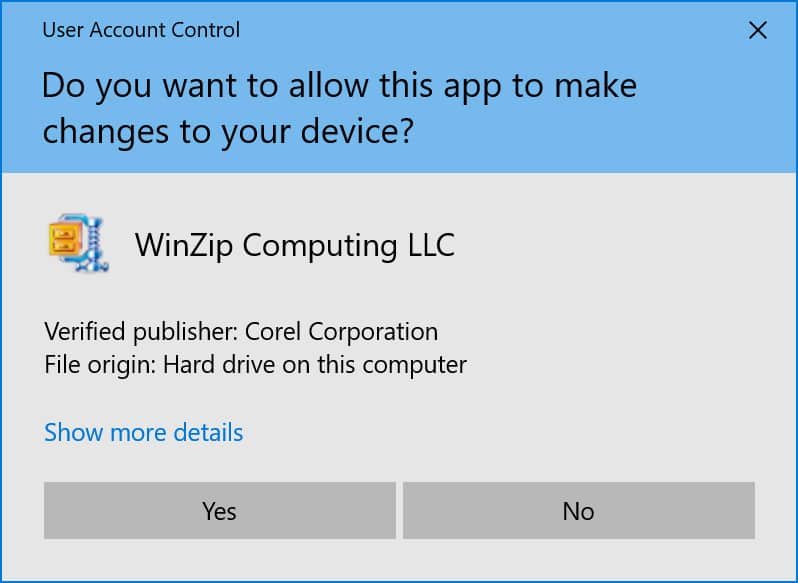
Compressing a video can be pretty straightforward. The trick is using third-party apps with compression software.
WinZip offers one of the best file compression software around today. Here's a quick tutorial to compress a video with WinZip:
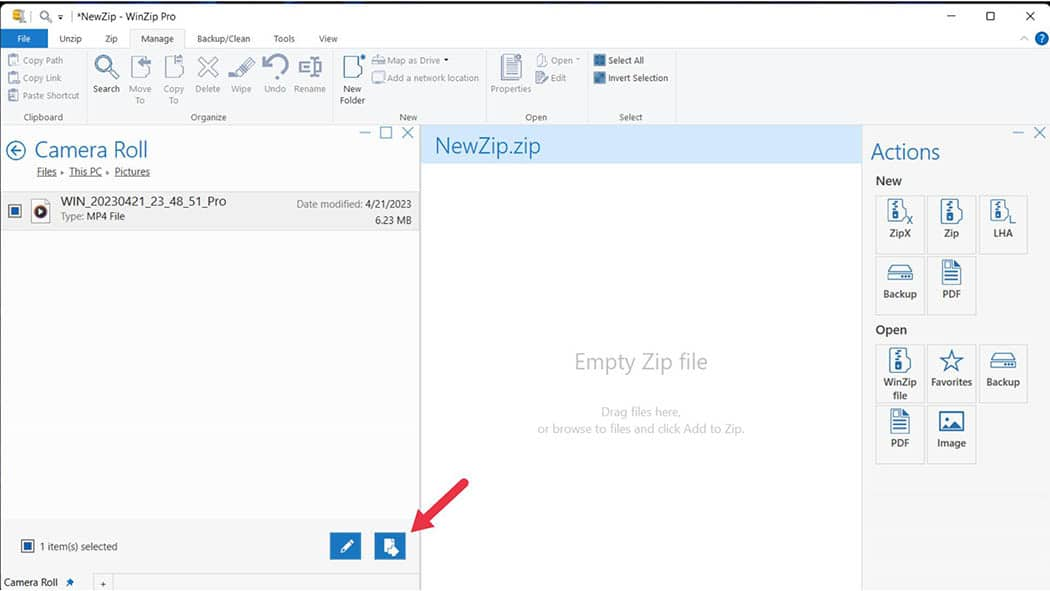
And just like that, your video is compressed and ready to be conveniently saved or transmitted.
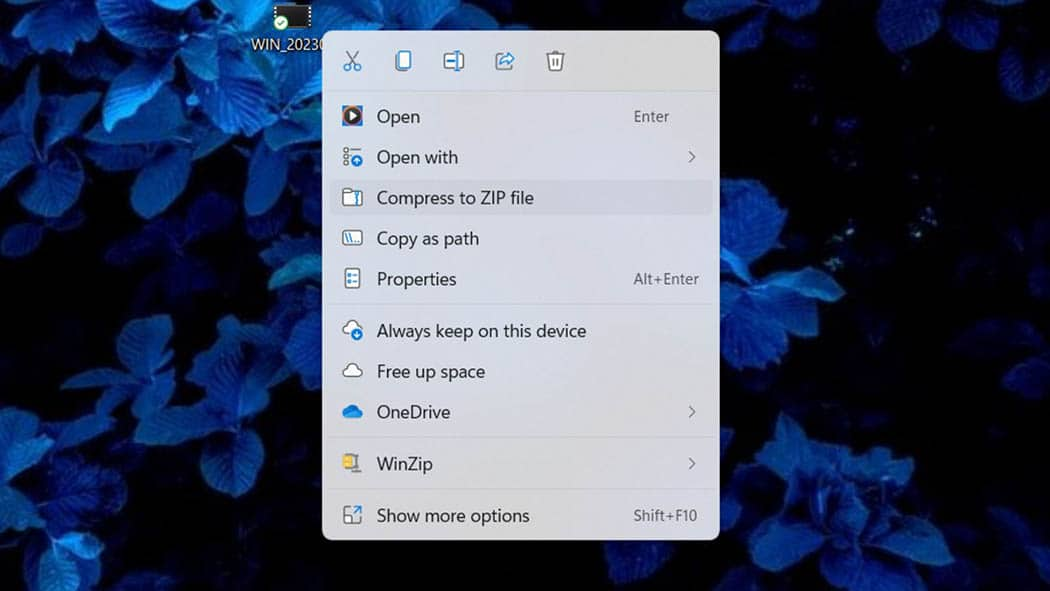
With the WinZip extension, compressing video files becomes even more accessible. All you have to do is right-click the video you want to compress and click Compress to ZIP file. With this shortcut, your new, compressed file will be saved in the folder you're in.
Several video formats are unfamiliar to most people. GIF and MP4 files are popular today, but video formats like MOV, WebM, AVI, and MKV aren't widely known. Some compression services require different ways to compress other video formats.
Fortunately, WinZip does not require a variety of ways to compress them. The tutorial above will help you compress virtually every video format available.
Compressing videos has several pros, but there are also a few cons. Every video format compresses differently and has different advantages and disadvantages.
The MP4 file has a high compression rate. Having a high compression rate, the MP4 can be compressed to a tiny file but comes at the cost of video and sound quality.
In contrast, the GIF file compresses very differently. Most GIF files can be compressed with minimal data loss output.
The MOV file does lose data, but not as much as the MP4 file, so it retains better video quality.
The AVI file, like the GIF file, can undergo lossless compression. AVI file compression keeps its original quality, making it ideal for storing videos in raw form and editing apps.
And the WebM file offers an even higher compression rate than the MP4 file. However, WebM file compression also comes with a significant loss in video quality.
How you compress a video depends on what you want to preserve and prioritize in a video. Still, the general goal is to shed some bytes while retaining excellent video quality.
Prioritizing your bitrate over resolution delivers better compression results. Professional videographers, editors, etc., may own equipment to read 4k videos, but most screens today are still at 1080p. So, chances are your video won't be able to be viewed at max resolution anyway.
You might also want to choose an MP4 file for compression.
The MP4 file has a balance between video quality and file size. Other files retain excellent quality, but they retain high storage space as well. Conversely, some have significantly reduced file size, but the video quality cost is too high.
Plus, the MP4 file is also the international standard, that's why it's one of the more popular video formats. Most platforms online are designed to accept MP4 files.
Another tip is to go with the H.264 video coding format. It's standard for keeping a video's quality while reducing its file size. This coding format is usually used when it comes to uploading videos online.
Video compression is a crucial step in managing and sharing video files effectively. By following the methods and tips discussed in this guide, you can compress your videos to a manageable size without sacrificing quality.
While there are tips and tricks to compressing videos, it's not magic. The general rule is that the more you compress a video into a smaller file size, the more you lose quality. So if you're hoping to preserve virtually the same quality, you reduce the file size only by a small amount.
Practically all video formats can be compressed. However, the AVI video format experiences the least amount of compression. This extremely low compression rate means stubbornly large file sizes.
Every video format has its pros and cons regarding compression, but MP4 has the best balance between file size and video quality. It is also the most recognized video file worldwide.
It is possible to compress videos without losing aspect ratios. The key is to choose the specific compression settings.
The best compression settings for a video will vary, but here's a compression setting that retains video quality and reduces file size.